Wednesday, April 30, 2014

Amazing Crock-Pot Taco Soup

Amazing Crock Pot Taco Soup

Crazy weather we are having here in the Mountains of North Carolina...another rainy cold day...so I thought today would be a great day to show you how I make the put together the "Maybin's" version of Taco Soup!!!!


The Best thing about making soup is it's EASY!!!! I make soup all year round but of course different kinds at the different seasons of the year..depending on what produce is fresh!  When your very busy with LIFE like we are... use your CROCK POT and let it do the hard work for you!  When it's time for dinner...believe me You will be so happy that you didn't slave over the stove all day...Even when it TASTES like you did!

Taco Soup

2 lbs Ground chuck hamburger/ Ground Chicken or Turkey, browned and drained 
28-oz. can crushed tomatoes
15-oz.  can tomato sauce
14-o.z can black beans
15-oz. can dark red kidney beans, drained
19-oz. can Cannellini white kidney beans, drained
15-oz. can white or yellow Hominy
1 can green chilies 
1 medium onion chopped
1 pkg. dry Taco seasoning 
1 pkg. Hidden Valley Ranch dressing mix
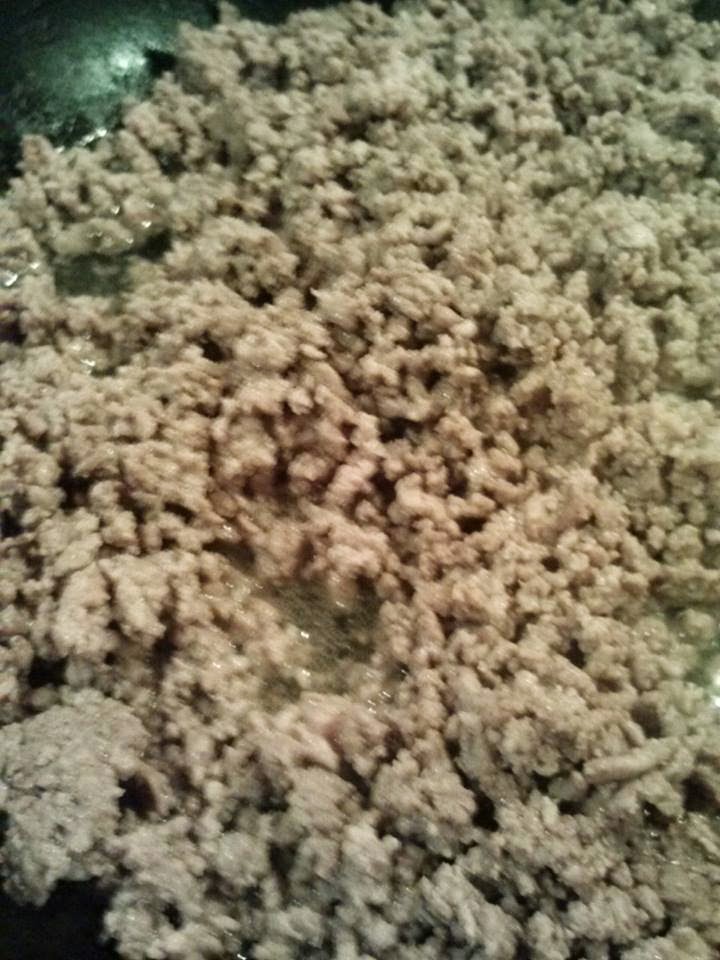
Brown your hamburger meat and drain


Add all ingredients and stir


Toppings

Shredded Cheese
Sour Cream
Jalapeno peppers (marinated in a jar)
Tortilla chips for scooping...who needs a spoon!
Everything is in the Crock!

So friends that is about it!  First get out your Crock Pot...Brown your meat and onions in a skillet. Combine all the rest of your ingredients into your crock pot and stir...make sure you do drain your beans..(the less gassy the better) lol... When your meat and onions are done please drain...then add to your crock pot. Now really at this time it won't take every long...Cover- cook on high for 3 hours or Low for 6 to 7 hours.

Flour burrito size tortillas cut into triangles

There is nothing better than using tortilla chips to scoop your soup with...of course you can use a spoon!!! But this is all the FUN!  I didn't have any bagged tortilla chips on hand but I did have flour tortillas that you make burritos with so...I used my pizza cutter and cut them into triangles sprayed a little olive oil on them and a little salt.  Bake then in the oven on 350 degrees for about 3 minutes and then flip them over for an additional 2 or 3 minutes...Wollaaaaa... Your own homemade chips! Easy try it!  Don't forget to put on all of your favorite toppings....Enjoy!  Oh and you could make cornbread if you like I just decided to have the chips! 
YUMMO !!! 


NOW LETS EAT!!! SCOOP!!!

Blessings today from my Crock Pot,
Tamara


Saturday, April 12, 2014

Mile High Spicy Jalapeno Cheesy Burger

Mile High Spicy Jalapeno Cheesy Burger


Wooohhhh!   Do you remember my last post with my fabulous Onion Rings???  Well I thought I would just capture my burger last night that I piled high with those Onion Rings!!! I told you...Put them on a BURGER!!!

Mile High Spicy Jalapeno Cheesy Burger

You know everyone has there special recipe for how they LOVE a hamburger...One of my favorites is SPICY...lots of Jalapenos...lots of Cheese and Onion rings mounded!  Here goes I'm just going to walk you through how I constructed this little beauty!

Remember these Yummy Onion Rings

Best Spicy Burger

 2 lbs of Ground Chuck hamburger
1 lb ground Turkey
1/2 cup dried bread crumbs
3 Tbs. Worcestershire
1 Tbs. Garlic powder
1 Tbs. Blackening season 
Pinch of salt and pepper
Mild Jalapeno Peppers (sliced and pickled in a jar)
Pepper Jack cheese slices
Great hamburger rolls
Onion Rings!!!

In a bowl, mix together the first 7 ingredients... Mix them well so all the seasonings get in there..I will patty up my burgers and set them on a platter to sit and rest and marinate in those awesome seasonings for a little while before they hit the grill, black iron skillet or what ever you are cooking them on.  When you patty them up use a generous handful of mixture, round them out and stick your finger in the middle like a do-nut..I know this sounds crazy but as they cook...they will cook evenly plus cook faster!!! The hole will close up as it cooks. While your hamburgers start doing there thing... get together your jalapeno peppers and cheese!  Once your burgers have been flipped and ready for cheese...put one slice down on top of your burgers..wait for that to melt a little..Add a handful of Jalapeno peppers to the top of your cheese.  Then carefully add 2 more slices of cheese to your mouthwatering burger.
You are getting close...they are almost done!!!  When cheeses have totally melted then take your burgers off of the heat...let them rest a little to settle the juices. 

Now it is time to construct...


See I told you..You can put the bun on!!! Sorta!!

Actually this is the time that you can of course put your favorite fixings on your buns...condiments..and of course by all means if you want lettuce and tomato...DO IT!! I layer this kind of burger like this...Bun with a little spicy mayo (mayo and cayenne pepper) on both sides..place my burger on the bottom...you already have the special ingredients on your burger so you are almost done...Now carefully if you made those wonderful Onion Rings that I showed you in a previous post...Top them on top of your burger...Like MILE HIGH... At this time my sister "V" would say "ADD THE BARBECUE SAUCE"...if you like it Do IT!!! That is like then a Texas style kinda burger!  Try to put the bun top on!  As you take your first bite the Onion Rings will start to crunch and go down... so you can put this Monster burger in your mouth! Ha Ha!  You will see then that the jalapeno peppers that you so carefully placed in between those slices of cheeses are nestled in for every bite! Yummy...my mouth is watering again just as I describe this fabulous Mile High Spicy Jalapeno Cheesy Burger!!! 


Please take this recipe and twist it with your own fabulous ingredients for your taste buds!

But if you like SPICY, then Try this Baby!!! I always follow a recipe the first time then I make MY changes...Do the same thing..You will LOVE it and you will be creating your own Famous Cheeseburger!


Blessings...Love from the Cast Iron Skillet...
Tamara 


Friday, April 11, 2014

Most Amazing Onion Rings

Most Amazing Onion Rings

This is One onion

Don't you just LOVE Onion Rings???  I used to always order these little wonders in the place of french fries when we went for a burger....No more!!! Na just kidding...I still love them especially the ones that we used to eat as teenagers at a local restaurant in Hendersonville N.C.  

Do you remember the basket of heaping ONION RINGS at McGuffy's???? Well that restaurant is no longer open here...but boy they sure were amazing!!! Of course they always had ketchup to dip them in...but if you loved these as much as I did...we used to sprinkle the whole basket with the Parmesan cheese that was on the table!!!! Yummo!!!!

I have to say that I'm not really an expert on Onion Rings but....I do like to try them any chance I get!  Some like there onion rings in BIG but onions with all the yummy batter on them, yep awesome! Some like them piled high like I do, cut thin like shoestrings...where you can pick a bunch up at one time! HaHa! I have made them different ways all I have to say these are MY favorite! Just like when I was a kid!!! Here goes you can make these at home!!!
Slice your onions in thin rings

Onion Rings

1 or 2 Sweet Vidalia Onions 
2 cups of Buttermilk
1 1/2 cups Self rising flour
1/2 cup Self rising cornmeal
1/2 cup Cornstarch
pinch of salt and pepper
dash of Cayenne pepper
vegetable oil for frying
Soak cut onion rings in butter milk


Coat your onions well

First you will want to take the peeling off of your onions.
Slice your onions very thin, try to keep them together so you can separate them into rings! Put your cut onions in a medium dish and cover them in butter milk.  Let them soak for a few minutes while you are mixing the dry ingredients together.  Put your dry ingredients in a dish and mix together.  When your oil is ready for frying, simply take some of your onions that have been soaking  in the butter milk into your coating mixture.  Coat very well using a spoon, drop the onion rings in by the hand full.  You will want to cook these in small batches.  When they are golden brown remove from hot oil with appropriate metal utensil unto a plate covered with paper towels.  Continue cooking the rest of your onion rings in the same matter. You may sprinkle them with salt as they come out...Beware though cause you don't want them too salty! 
Woola!  You have made some amazing onion rings!
Fry in small batches


I told you they were very easy!


Now you can make these to go along your favorite grilled burgers, chicken, on top of an awesome steak, or just have them as an appetizer!  Eat them while they are warm...they are NOT good warmed up!


The things that seem so crazy to fix...end up being amazing!


Blessings..keep on making those amazing Onion Rings..

                                       Tamara 


Thursday, April 10, 2014

Chicken Parmesan

Whats For Supper???  Chicken Parmesan !!!

Chicken Parmesan with Garlic mashed Cauliflower

I just can't believe soooo many of my friends don't cook...not all because they can't..just too busy!

Saute breaded chicken

So whats up with that?  When I worked all day at my salon (back in the day) I always had some kind of plan for supper for my family... I prepared a lot on the days that I was not working...grocery shopping, meal planning, budget shopping...and so on...Yep I know where to get the bargains!  I'm totally a bargain shopper!!! I plan my meals around what is on sale that week at the grocery stores...yep stores plural...anyway... There were many days that I worked 10 hours a day and had to know that there would a great healthy meal on the table that night! I used the CROCK POT a lot...and still do!!! So hear goes...I have many people ask me all the time.."So whats for supper at your house tonight?" and when I answer sometimes it must be very intimidating... no worries ladies and gents...if you can follow a recipe you can make it!!!

Today I am going to show you how to make the BEST ever...EASY Chicken Parmesan that your family and hubby will be coming back for more!!

Easy Chicken Parmesan

Chicken with cheeses and sauce...ready to bake!


                                                  4 to 6 boneless, skinless chicken breast
1 jar 28 oz Favorite Pasta sauce (homemade is awesome but not necessary)
3 to 4 cups mozzarella cheese
1 cup grated Parmesan cheese 
2 cups Italian bread crumbs
salt and pepper 
2 Tbs. oil ( coat your pan good)
Top with the rest of the cheese to melt!


Preheat oven to 350 degrees
Mix together your Italian bread crumbs on a plate ( if you just have plain breadcrumbs add some garlic powder, salt and pepper and dried Italian seasonings..wollaaaa)
Dip your chicken and coat all over with your breading mixture
Saute chicken in your skillet until golden brown on all sides for a few minutes ( they will cook through in the oven)  Get your 9x13 casserole dish ready, pour a little sauce in the casserole dish ( so your chicken won't stick)  Arrange your chicken in the casserole dish, sprinkle the top of each piece with Parmesan cheese, and about 1 1/2 cups of mozzarella cheese. Top the chicken with all of the pasta sauce...Bake for 30 minutes uncovered ...Cover the chicken with the rest of the mozzarella cheese bake for an additional 6 to 7 minutes, just until it melts!!!  YUMMO!
prep time..15 minutes..  Finished to the table..45 minutes!


I always pair this with either pasta noodles with olive oil and seasonings or garlic mashed potatoes, and a great big salad!  Since we are all trying to watch those waist lines I have made tonight...Garlic mashed cauliflower!


Garlic Mashed Cauliflower 

1 head of Cauliflower
1 tsp. minced garlic
3 Tbs. butter
1/2 cup milk
salt and pepper to taste

This is totally really easy...just clean your cauliflower and cut it off the head..put in a pot of boiling water ( just like you do mashed potatoes)
When your cauliflower is knife tender, turn off and drain water...
Add your butter and start blending until as smooth as you can get it.. It will be a little lumpy!  Add your milk, garlic and salt and pepper

Chunky garlic mashed cauliflower

You will be so excited to know that you can really cook a meal that is truly easy and everyone will think you really slaved over the oven tonight!!!!


See I told you that it wasn't that hard!!!!


Now doesn't that look yummy!!!


Enjoy....Blessings to you all..keep on cooking...

                                                      Tamara